mark richards
Well-known member

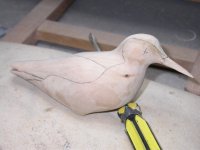
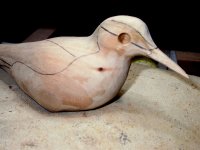
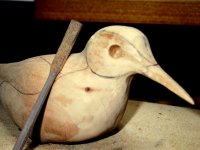
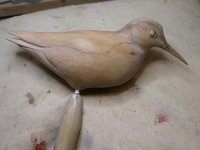
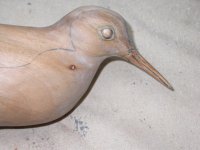
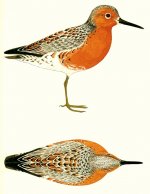
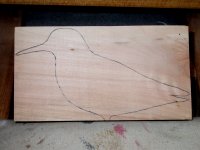
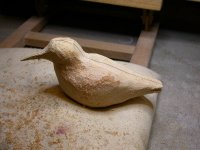
I will start off with a shorebird , a KNOT ..it will be a smoothy, which is a bird thats just painted, only shaped like the bird .
The detail will be in the paint,not in the carving, but still a lot of fun to do..
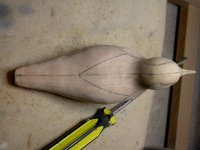
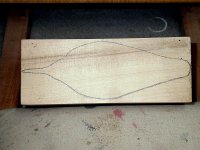
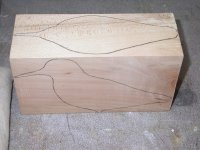
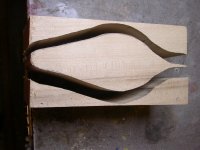
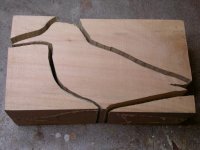
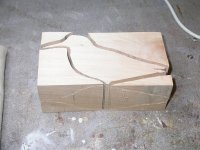
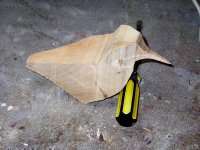
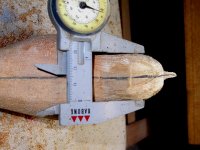
first you need a drawing to work from. transfer the image of the bird to the wood. The wood i use is lime , you could use any tight grained wood ,dont use pine from superstores its no good for doing this. The bird is 230mm long. make sure that the grain of the wood runs the same as mine , once you have done this then you need to cut the bird out, I use a bandsaw ,but you could use a fretsaw, cut the top view first , when you cut out the top, you need to glue it back together temporarily, (hot glue) dont go mad with the glue because you have to praise it apart when its all sawed, if you cant get it apart but in micro for few seconds. Then cut side profile , hay presto out pops a bird well sort of.. more photos next post.
The detail will be in the paint,not in the carving, but still a lot of fun to do..
first you need a drawing to work from. transfer the image of the bird to the wood. The wood i use is lime , you could use any tight grained wood ,dont use pine from superstores its no good for doing this. The bird is 230mm long. make sure that the grain of the wood runs the same as mine , once you have done this then you need to cut the bird out, I use a bandsaw ,but you could use a fretsaw, cut the top view first , when you cut out the top, you need to glue it back together temporarily, (hot glue) dont go mad with the glue because you have to praise it apart when its all sawed, if you cant get it apart but in micro for few seconds. Then cut side profile , hay presto out pops a bird well sort of.. more photos next post.
")