ESTEBANNIC
Well-known member
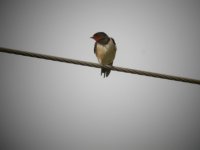
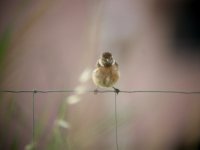
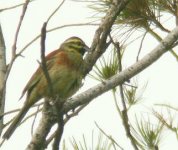
For the first time today I have tried out digiscoping with my setup:Nikon ED82+30w+CP4500+manfrotto 055+701rc head. I am a complete beginner and although I set my camera according to Andy's settings any advise as to how I can improve the shots are welcome. I don't have a cable release so I used the timer.
No photoshop on the shots (until I figure it out)
Thanks guys o")
Steve
No photoshop on the shots (until I figure it out)
Thanks guys o
Steve