I always used 2x converter and usually at full zoom...never had any issues. BiF shots were always zoomed out slightly though
So what are you doing differently that lets you do that where others (experienced SX50 users) are struggling and giving up?


I always used 2x converter and usually at full zoom...never had any issues. BiF shots were always zoomed out slightly though
So what are you doing differently that lets you do that where others (experienced SX50 users) are struggling and giving up?

So what are you doing differently that lets you do that where others (experienced SX50 users) are struggling and giving up?

On page 106 of the manual is the only reference to this dial, which oddly I've never used. Apparently it's to thumb-through images on the camera.I just got the camera today. Shot some 170 pictures mostly AF. Did try the manual focus and leafed through the manual.
Since this is the main thread for the camera, I have to ask here:
What is the dial that is between the shutter and the shooting mode clearly marked dial?
http://www.gizmobeat.info/wp-content/uploads/2015/02/sx60-hs.jpg
It has no markings, does turn but does not seem to do anything.
It looks similar to the dial on the viewfier that I use to set the viewfinder for my eye.
Oh yeah, duh. Was trying to answer from work without the camera in front of me and the photo from the front threw me off. Yeah I do use that one all the time since I shoot in Shutter Priority and mess with shutter speed all the time. Good for quick fiddling with EV too.Actually, I found a use. When you have a menu open for a particular mode, and there is a green half circle at the bottom, this dial behind the shutter is used to select whatever it shows with a scale. For example shutter speed.


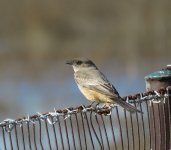
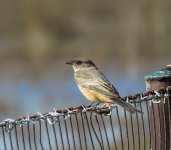
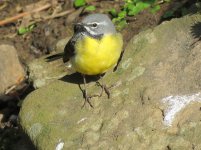
I agree, I should because I've posted photos to my gallery that looked quite bad off the camera but were reasonably salvageable. And some were simply "better" because I routinely use post-processing.Could you post a "raw" version of some of these images? I always wonder how much the post-processing adds to the final result.
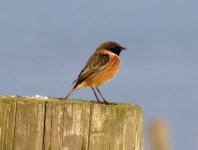
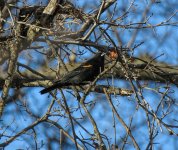
") The Say's Phoebe has a nicer background after PP (denoising?).
The Say's Phoebe has a nicer background after PP (denoising?).Hey, that's fine by me. :t:The first one... I like the out of camera Ducks & Avocets better
|